Saturday 5 July 2014
Tiny Trunk Show
In case you haven't heard, Flock and Gather are hosting a teenie tiny trunk show today from 10-4pm. You can find this temporary pop up shop outside of Tamarack General Store, located just off of Broadway in Saskatoon. You'll find some of the latest by our very own Shauna Buck as well as some of our new cards and stationary goods. One day only, so spread the word!!
Friday 4 July 2014
Light Box Display Sign
Materials List
1- 24in x 24in Sureply board
1 - 1x2x96in (8ft long) lumber
20 - 1-3/4in screws
2 - 24in LED light strips (we used these)
2 - AA battery packs (we used these)
1 - electrical switch (like this)
1- 24 x 12in piece of aluminum foil - can use multiple smaller pieces but enough to cover the 24x12in surface area
wood glue
soldering iron with flux
coloured tissue paper
We first cut the sureply into two - 24x12in pieces - one panel will be the front, the second will be the back of the completed light box. We then created a design with the same dimensions (24x12) and had it laser cut into one of the wood panels. The nice thing about using sureply is it's really sturdy and has a wonderfully smooth finished side which can either be used for a wood finished look, or can be easily painted later on.
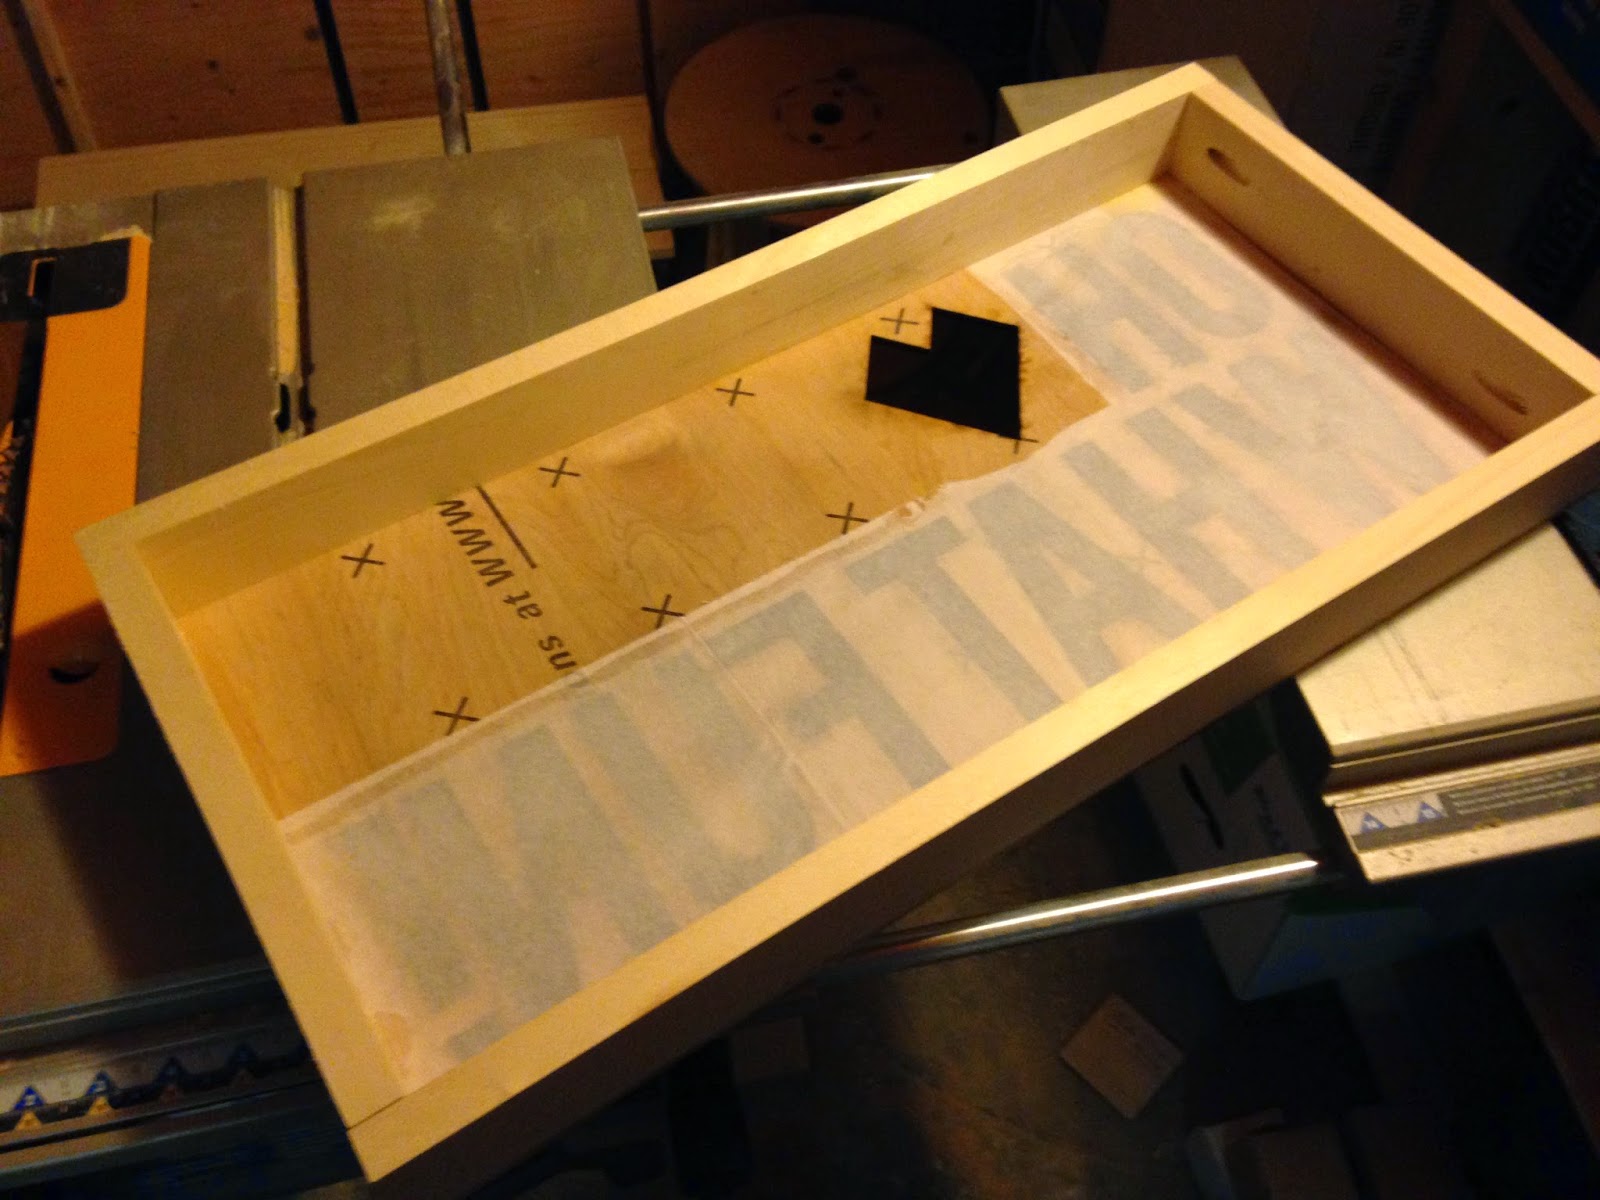
Now add your coloured tissue paper to the back of the laser cut front panel. Using the wood glue, brush out a light outline around the design and adhere the tissue paper to back. The tissue paper does not have to be cut precisely, but it shouldn't overlap anywhere visible on the front side.
 |
| Wood glue used to adhere the white tissue paper to the lettering portion on the back of the front panel |
 |
| View from the front once the white tissue paper was glued on the backside of the front panel |
 |
| Cutting down the 8ft 1x2 |
 |
| The two 1x2x12in pieces cut |
 |
| The box frame adhered to the back of the front panel. |
Screw the sides of the box frame together. We used a Kreg jig to create pocket holes so the screws would not be visible from the exterior of the box (you can see them in the previous photo on the short 1x2x10.5in side piece). Use the wood glue and clamps to adhere the box frame to the back of the front panel. If you plan to paint the front panel, you can use finishing nails on the front of the front panel to further reinforce the box frame to the front panel.
While the glue is setting, glue the aluminum foil to the other 24x12in sureply panel - your back panel. For best results make sure the shiny side of the aluminum foil is face outwards.
 |
| Aluminum foil, shiny side out, glued to the back panel |
Now for a bit of the complicated stuff - wiring the lights. We used the ones from Walmart since we don't know a whole lot about wiring LED lights ourselves. The nice thing about these ones is that the package already comes prewired with a switch and battery pack. However the switch does not stay one automatically and the battery pack consists of a small 9volt pack. This is insufficient for longer duration of constant use.We followed the same wiring pattern from the package, but replaced the battery wiring going to the 9volt pack with the two AA battery packs and soldered together in serial. We also replaced the package light switch with a manual flip switch. Again, we followed the wiring pattern and soldered in our new switch in place. The LED light strip also has an adhesive back, which makes mounting the lights super simple. With the wiring complete, add the lights to the bottom and top of your light box, with the lights facing the back panel.
 |
| LED strip lights mounted |
 |
| we hot glued the excess wires to the back of the front panel |
 |
| The soldered wires, battery packs and switch for the lights |
 |
| Our switch box with the battery packs mounted |
We built a small switch box to mount the batteries to. This isn't necessary. You could mount the battery packs to the inside of the box, but we wanted easy access to change batteries as needed. Once you have all the lights mounted, and wires soldered, check to see if they all work. Now, place the back panel on, enclosing the light box using the 1-3/4in screws. Pre drill the holes, as the screws may cause your box frame to split.
 |
| Finished product |
 |
| Finished product with lights on. |
This was a very fun project that was a little outside of our normal operations. Hope this post is helpful to brightening up your displays as well.
Subscribe to:
Posts (Atom)
